From First Message to a Floor You Can Use
Seven stages, in the order they happen. Where we give a number, it comes from the technical data sheets that South African coating manufacturers publish for their floor primers and epoxies.
Get a Free QuoteStage 1
You tell us about the floor
Fill in the quote request form (the button above) with the room, the rough size and the suburb. Photos of the floor and its edges help, especially if there is old paint or a crack you are worried about. Living in a complex or a gated estate? Say so, and we will ask about the rules for contractors early.
Stage 2
Site visit and slab tests
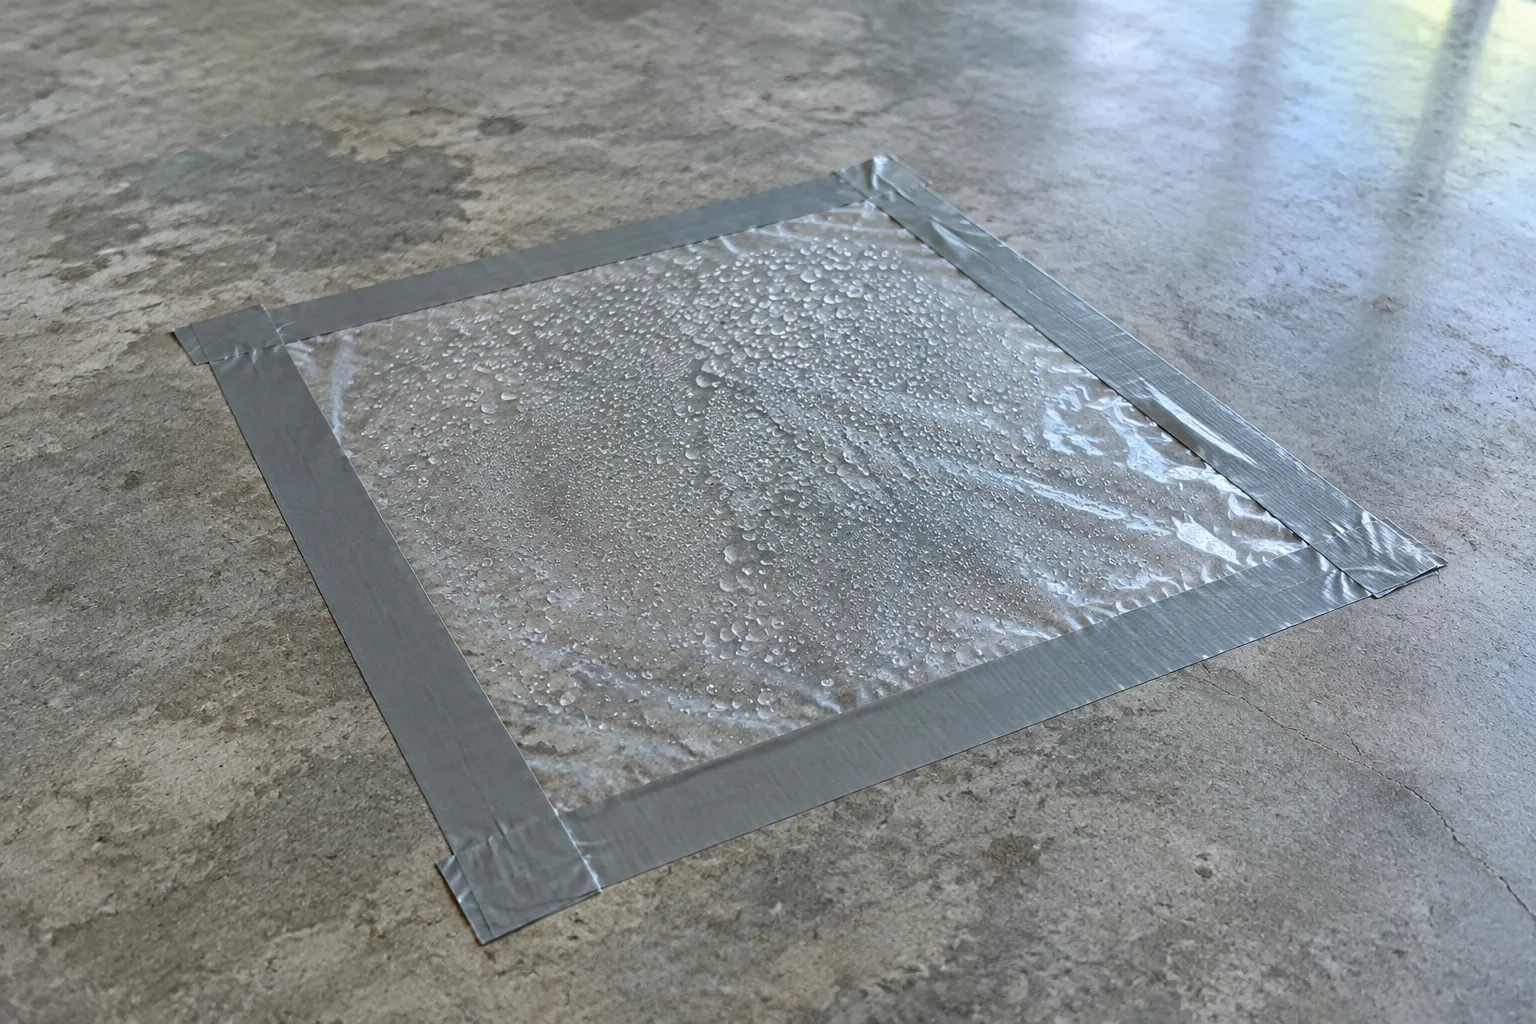
We measure up, note how the grinder and resin will get in and where the plug points are, and test the concrete. The primer sheet we work from asks for under 4% moisture by weight (measured by the carbide or oven-dry method) and no rising damp on a polyethylene sheet test, where plastic is taped flat to the slab and checked for condensation underneath. It also sets strength minimums for the concrete: 25 N/mm² in compression, and 1.5 N/mm² when a test disc glued to the surface is pulled off.
Stage 3
A written, itemised quote
You get the measured area, each layer of the system, preparation and repairs, any moisture barrier as a separate line, and the working days. Our Durban price ranges show what each kind of floor tends to cost. Ask about the warranty on your quote.
Stage 4
Grinding and repairs
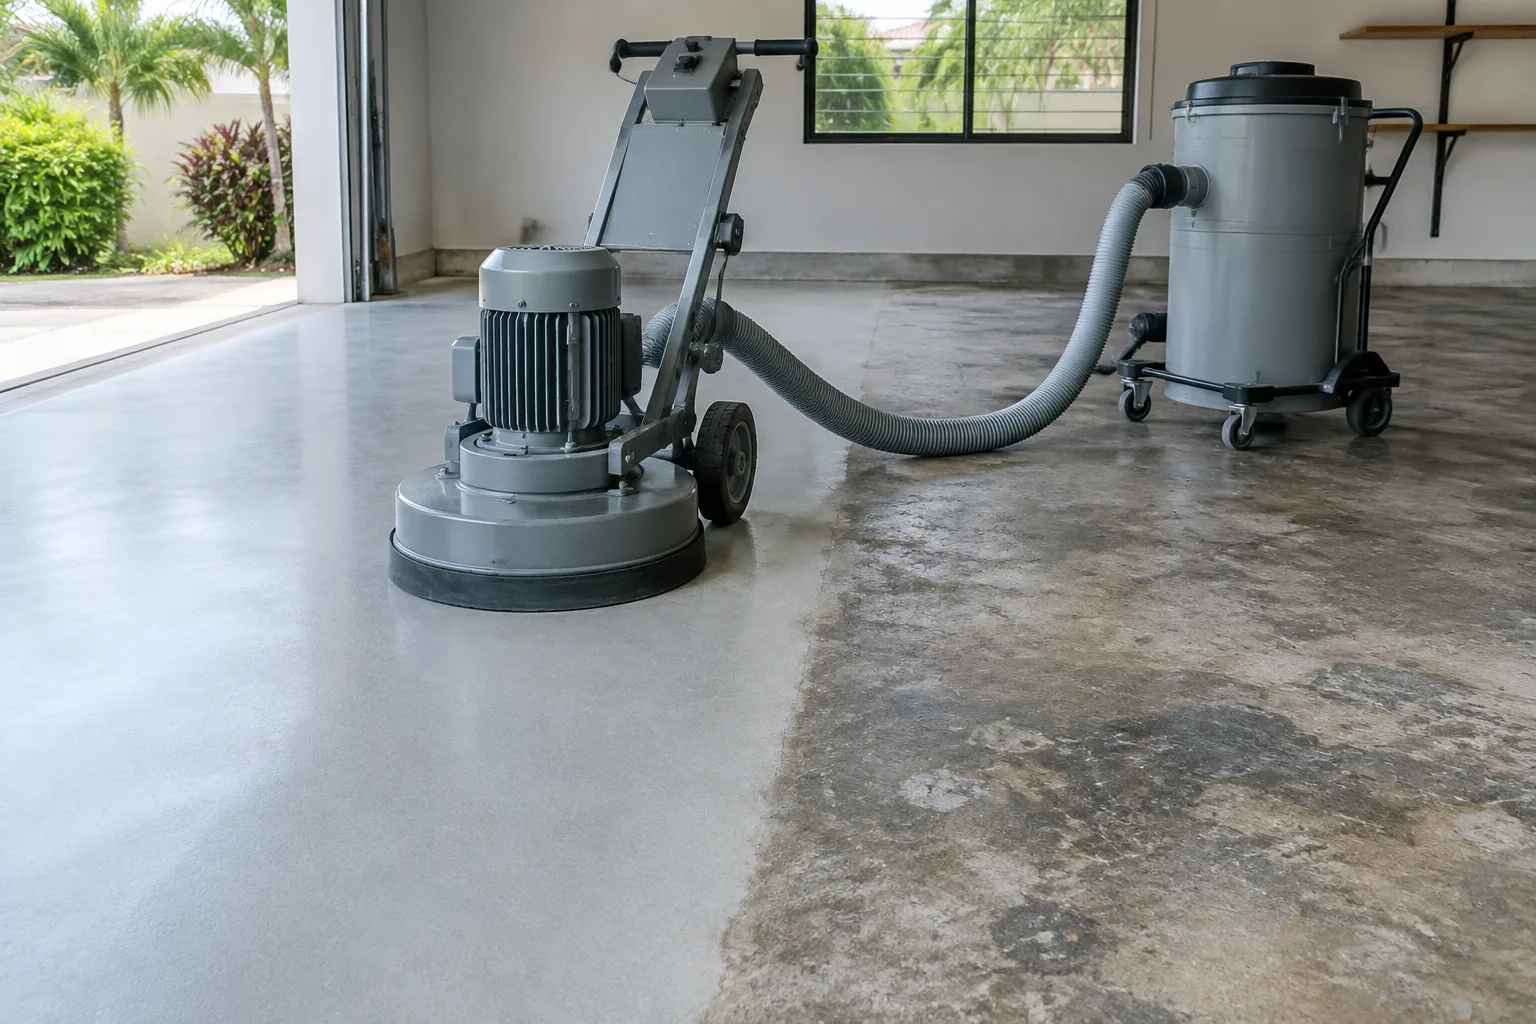
Manufacturers want the slab opened up mechanically, by grinding or blasting, to strip the weak cement skin and leave an open texture for the primer to grip. Old coatings, oil and grease come off at this stage. Static cracks get filled and levelled; a crack that still moves is treated as a joint, otherwise it simply cracks the coating above it again.
Stage 5
Primer and coats, inside the weather limits
Durban's average relative humidity is 80% from January to March. The same primer sheet allows a maximum of 80%, slab temperatures from 10 to 30 °C, and a slab and wet coat that are never closer than 3 °C to the dew point. We take those readings before every coat, and stop if they are wrong.
Timing counts too. Priming while the slab is warming up can cause pinholes as air rises out of the concrete, so we prefer a steady or cooling slab. On a 30 °C slab, the next coat can follow the primer after 8 hours and should go on within 24; at 20 °C the window is 12 hours to two days.
Stage 6
Curing and handover
For one South African epoxy body coat, the manufacturer gives these approximate times. Fresh primer also has to stay dry and free of condensation for at least 24 hours, so a humid night matters.
| Conditions | Next coat | Walk on it | Light traffic | Fully cured |
|---|---|---|---|---|
| Warm day, slab about 30 °C | 16 hours to 1 day | about 18 hours | about 2 days | about 5 days |
| Mild day, slab about 20 °C | 24 hours to 2 days | about 24 hours | about 4 days | about 7 days |
At handover we walk the floor with you, point out anything we touched up, and confirm in writing the dates for moving furniture back and parking a car on it.
Stage 7
Looking after it
Grit scratches a coated floor over time, so a mat at each door and a regular sweep do most of the work. Mop with a mild, pH-neutral cleaner, wipe oil and brake fluid up soon, and put felt pads under furniture. If you are coating in the humid months, our piece on epoxy and Durban humidity explains what to expect.
Start with stage one
It costs you nothing to request a quote, and the site visit is free.
Send your floor details